By default, Sports Bench comes with a number of fields for teams. In addition to the team name, location and logo, you can also add in the team colors, stadium, address and more.
But sometimes you don’t need all of that information. Or maybe you want to add in new fields for the team.
The good news is that if you know PHP and a little bit of MySQL, you can edit the fields you can enter in for a team.
Now, I will warn you that this is kind of advanced. You will need to be familiar with how WordPress hooks work (although I will walk you through each hook that you need to use), confident in your PHP skills and know the basics of MySQL and databases.
If you want to have help doing this for your website, please reach out to me and I’ll see what I can do.
With that out of the way, let’s dive into customizing the add and edit team screens.
Adding the columns for the new team fields
The first thing that you’re going to need to do if you are creating new fields for the team screen is to create the new columns in the database. You will need to access your phpMyAdmin area on your web hosting in order to achieve this. If you have any questions about how to do this, please contact your web host.
Once you’re in the phpMyAdmin screen, you’ll need to navigate to the “sb_teams” to add the fields you want.
I do want to note that if you’re adding in basic information, then the new column needs to be the “TEXT” type. If it’s a stat that will have a decimal point, the new column needs to be the “DOUBLE” type. All other numbers should be an “INTEGER” type.
Once you’ve got the columns added, it’s time to add the fields to the edit/add team screen.
Add in the new fields for the teams
Now that you’ve added in the columns, it’s time to add in the fields for the add team screen.
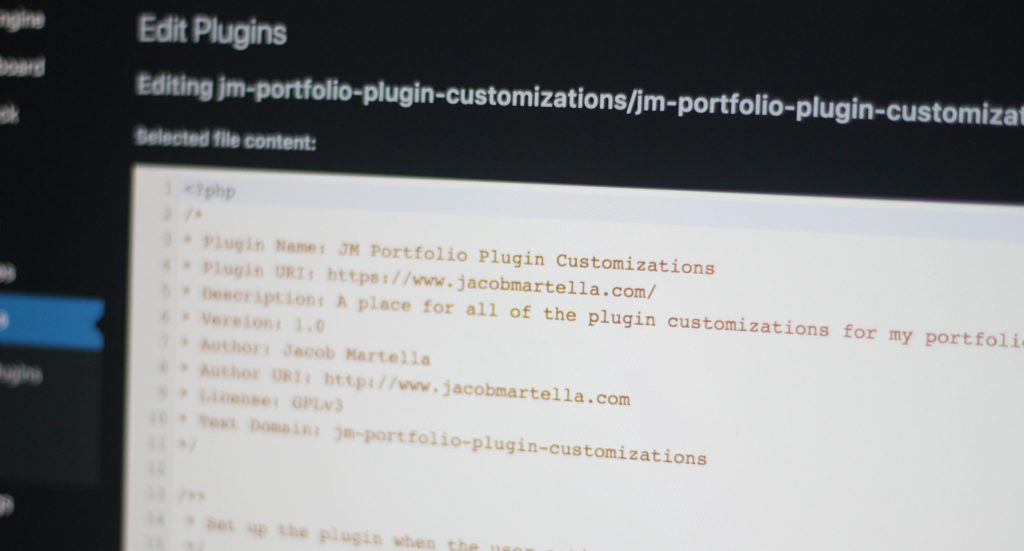
To do this, you’ll need to navigate to the TeamsScreen class file, which can be found in includes/classes/screen/admin. From there, you’ll copy the sports_bench_do_default_new_team_fields function you’ll need to edit how they look into your functions.php file in your theme. Make sure to add in a prefix for the function and remove the public keyword as well.
Next, you can remove fields you don’t want or add in new fields. You can use the existing fields as a guide for where to add them. You can also move around the current fields if you want to.
Finally, you will need to remove the current filters for the add screen and add in your functions to the sports_bench_new_team_fields hook. You can use the sports_bench_remove_filter and sports_bench_remove_action functions to remove the default filters and actions being used.
Once you’ve got your new fields added, it’s time to work on saving the new fields.
Saving the new team fields
The fun really begins when it comes to saving the new fields.
You’ll need to find the sports_bench_do_save_team function and copy that into your own version of the function inside of your theme. You’ll then add in your new fields to the $default_team array, and make sure to leave the rest of the items in the array, even if you’ve removed them from the display on the front end.
Then you’ll also need to add your new fields into the $teams array a bit further down the function. You’ll want to follow the examples set by the default fields already there. Make sure that you sanitize it with the wp_filter_nohtml_kses and sanitize_text_field functions. If you’re adding an integer, sanitize it with the intval function. And if you’re adding double or decimal, be sure to use the floatval function.
Finally, you’ll need to add in the following to remove the current save filter and add in your own.
sports_bench_remove_filter( 'sports_bench_save_team', sports_bench_do_save_team );
add_filter( 'sports_bench_save_team', '_save_team', 10, 2 );
Showing the new edit team fields
Once you have the fields created for the new team screen and have set them up to be saved into the database, we need to add in the fields for the edit screen. And the good news is that this part is pretty easy all things considered.
You can simply copy and paste the functions you created to add in fields to a section. You will need to make sure that you change “add” in the function name to “edit” and add in $team as a parameter for the function.
Then for each of the fields, you will need to add in a value attribute of $team[‘’] so that the value gets shown in the field. But otherwise it’s pretty simple to set up the fields for the edit screen.
Showing the team fields on the front end
Displaying the new team fields you have created is pretty simple, especially if you follow the examples in the plugin.
You can make a MySQL call to get a single team or an array of teams and their columns and output the data like $team->custom_column_name. And you can do that wherever you would like in your theme templates.
For showing those fields in Sports Bench areas, like the team pages, box score pages, etc., you will need to use filters to alter that info. There are a lot of filters that can do this, so check out the documentation to find the right filter for what you want to change.
And if you want to see the full thing written out as an example for what it could look like in your theme’s code, you can check out this GitHub Gist.
Extending the team class
Now, one advanced thing you can do to help you display your new information across your website is to extend the existing team class or sport-specific team class (like BaseballTeam).
Please note that this is pretty advanced and really dives into object-oriented programming, so it’s probably not ideal for beginner developers.
But extending the team class can make it easy to just call that class/object and load in your custom fields plus the default ones as well as any custom methods you want to add to the object.
It’s just another tool in your tool box.
Check out the documentation for more
Want to dive even deeper into the functions and hooks that we used in this tutorial? Want to learn more about the various functions, classes, hooks and more that you can use to customize your Sports Bench install? Check out the Sports Bench Documentation for all you need to know to get started today!


Leave a Reply