
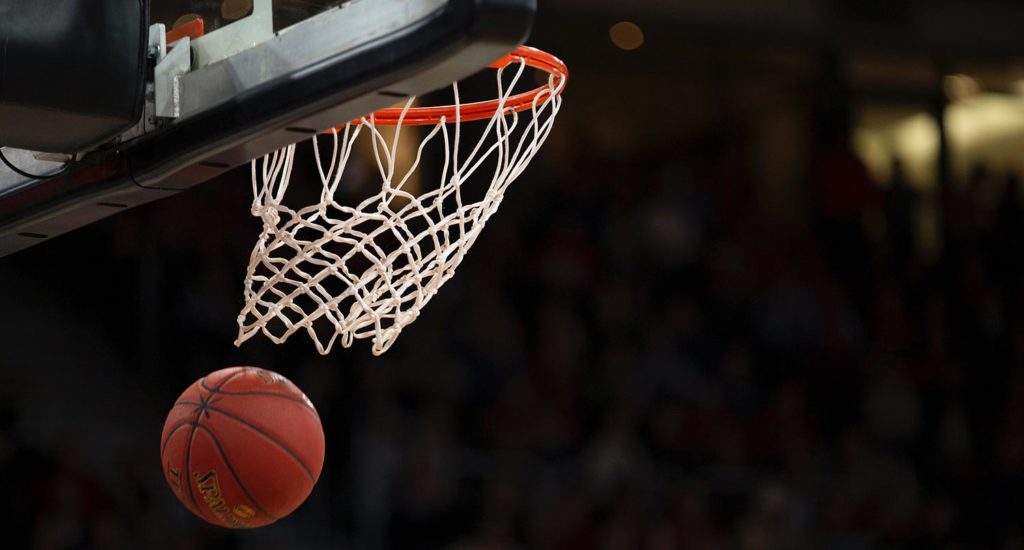
Have you ever wanted to create a basketball website?
Do you want to create a website for your local basketball rec or little league so everyone can stay up to date easily? Or do you cover a semi pro or professional basketball league and want to make your website the place to go to learn more about that league?
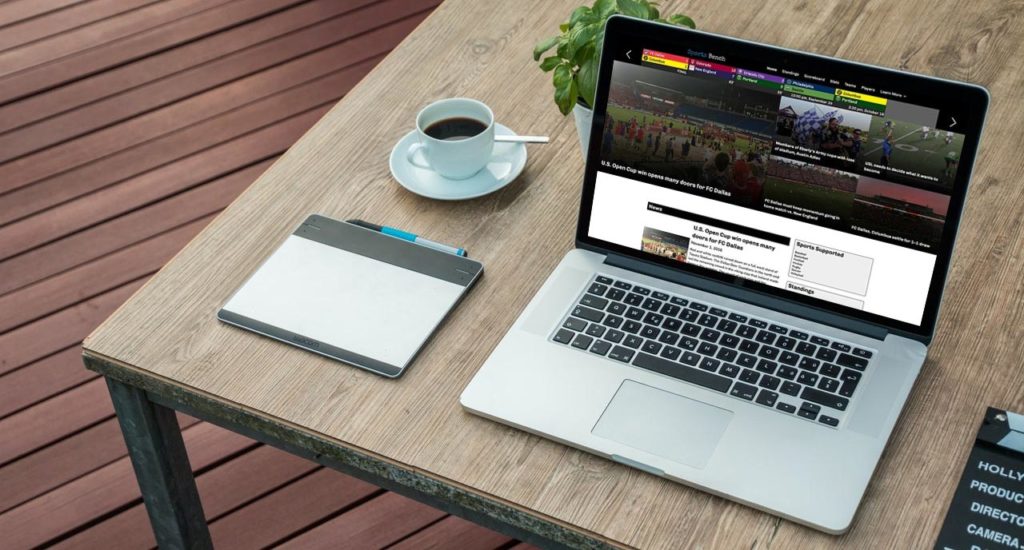
The good news is that with the combination of WordPress and Sports Bench, you can do that in just an hour or two.
This guide will walk you through how to do just that — from buying your domain and web hosting to installing and setting up Sports Bench to launching the website. You’ll know exactly what you need to do to get started.
So let’s get started creating your new basketball website.
Purchase a domain
The first thing that you need for your basketball website is a domain. This is essentially how people are going to get to your website.
Now, there can be some confusion about domains and web hosting (which I’ll touch on in the next section). They are not the same thing. Web hosting is where the files are stored for your website. A domain is essentially the address to the server where your website files are stored.
The good news is that domains are pretty cheap these days. You can probably find your preferred domain for less than $20 a year. Some web hosts will sell you both a domain and web hosting as a bundle, but you can also check out places like Name.com, NameCheap and Domain.com.
Ideally, your domain should be simple and easy to remember. The short is better since it’s less that others will need to remember to get back to your website. Also, don’t worry about the www prefix. You can add that as a subdomain after the purchase. And also come up with back up domain names ahead of time just in case your preferred domain name is taken.
Also, you probably want to go with either a .com domain or a .org domain if you’re running a youth sports organization, though there are a few more hoops to jump through to prove you’re an organization.
If you want to learn more about domains and how to find the perfect domain for your basketball website, you can check out a blog post I wrote on my portfolio website.
Select a web host
Next up, you’re going to need to purchase web hosting to house your basketball website’s files.
This could be the most expensive purchase you’ll make for your website, but it could also be the most important one.
If you select a great web host, you’re going to be just fine. Your site will load quickly, you won’t have any uptime problems and it will be a great experience.
But pick the wrong host and it can be a nightmare. You might be left wondering if your website is even going to be up and running today. Then there are security concerns. And even questionable customer service in the event problems arise.
For that reason, I’m okay spending an extra bit of money to ensure that everything is going to work. Your best options here are WP Engine (which is what I use), Siteground and Pressable since they have WordPress-specific hosting. Bluehost and GoDaddy are fine as super cheap options, but I’ve had more than a few issues with them in the past.
If you want to learn more about the WordPress web hosts, you can check out a blog post I wrote on my portfolio website.
Install and set up WordPress
Once you’ve got your domain and web hosting sorted out, it’s time to install and set up WordPress on your basketball site.
The good news is that these days the process is pretty much automated. A number of WordPress specific web hosts will automatically install it when you purchase your web hosting, so there’s not a whole lot that you need to do. And for others, all you have to do is find the WordPress installer and let it do everything for you.
After WordPress is installed, you’ll want to go through all of the settings to make sure they match what you want them to be. Make sure that you set the title and tag line/description for the site. And also double check the administrator email so that it’s set to your email. Otherwise you might miss out on important emails.
Once you have those set to your liking, it’s time to move on to the next step.
Purchase and install Sports Bench
Now that your WordPress basketball website is all set up, it’s time to purchase Sports Bench so that you can turn your website into a sports website in no time.
You can either purchase the bundle if you also want to get the main theme as well or just the plugin if you have another theme in mind. It’s up to you.
Once you have purchased the plugin and downloaded it, you’ll need to upload and activate it to your website. To do that, go to “Plugins” and “Add New” in your WordPress dashboard. Then click on “Upload Plugin” and upload the Sports Bench plugin zip file. Then activate the plugin.
Now you’ll need to go to “Sports Bench” in the left hand menu and set up Sports Bench. Make sure to select “basketball” (in fact, it should already be selected for you). If you ever change this after creating games, all of your game data will be erased. Also make sure to set the season that you’ll be starting with as well.
For now you can leave the pages settings blank until we get those pages set up later in the process.
Once you have Sports Bench set up and the settings to your liking, it’s time to move on to the next step.
Select a theme
Next, while it’s recommended that you use the Sports Bench Main Theme for your basketball website since it makes everything super easy, you can use any WordPress theme for your website. You might need to make some adjustments, particularly with the styling, but the plugin is built to work with any well-built theme out there.
When you’re looking for a theme, there are a few important things to keep in mind.
First off, you want to make sure that you like the theme. Does it look good? Does it display your posts and pages in a way that looks good and is easy to read? Is the theme easy to navigate?
Next, check to make sure that the theme isn’t adding any functionality that you could lose if you switch themes. Per WordPress’ policy for themes in the theme directory, themes should only affect design, not functionality. That should be for plugins.
If you use a theme that creates custom post types, you could lose that custom post type if you switch themes, which becomes a big headache for you.
Finally, make sure that theme is still supported. Check to see when it was last updated as well as what version of WordPress it has been tested up to. If it’s been over a year since it’s been updated, it’s probably a good idea not to use that theme.
When you’ve found a theme that you like and want to use for your website, install and activate it on your basketball website and move on to the next step.
Add in a few extra plugins
Now that you have a WordPress website, the Sports Bench plugin running and your chosen theme installed, it’s time to add in some additional plugins to add some functionality to your website.
Here are some of my favorite plugins to use on any website.
- Yoast SEO — For search engine optimization, I love to use Yoast SEO. I currently use the paid premium version of the plugin, but the free version works just as well. It will help the technical side of your website’s SEO, as well as help you make sure that your posts and pages are as SEO-ready as possible.
- Wordfence — Even if you have a simple website, you’re going to want to make sure you have some sort of security plugin running on it. Wordfence is a great option. I use the paid version, but the free version does a lot. Plus, their security blog can help you keep your website secure.
- Google Site Kit — You probably want to have analytics running on your website, and Google Site Kit makes it super easy to connect your website to Google Analytics. It will take care of the entire process for you with just a few clicks. No need to dig through code at all. Plus you can also get your site set up with Google Search Console as well.
You can also add in other plugins as well. Just make sure that you don’t add too many plugins. That can cause your website to slow down, and you might run into security issues and conflicts between plugins.
Add in the teams to your basketball website
Now that your website is set up with WordPress, Sports Bench and your theme, it’s time to start adding data for your league.
I recommend starting by adding the teams first. There aren’t as many of them as players. Plus you can then add players to their correct team when adding in the players later.
So to create a team, you can go to “Teams” and then “Add New”. You can fill out the fields you have information for. They are pretty self explanatory.
The only one that can be confusing is the team location and nickname field. Location should be the first part of a team name, so for example “Los Angeles” or “Texas”. The nickname is the second part of the name, like “Dodgers” or “Rangers”. If you have teams with no nickname, like “FC Dallas”, then the whole name goes into the team location field.
Next with photos, the team logo appears next to the team name in multiple spots like the scoreboard bar. The team photo only appears by default on the single team page.
Also, if your league is a little or rec league where teams don’t have a home field, you can leave that blank. There will be a field when creating games where you can add in the field and address for games.
Then repeat the process for your remaining teams.
Add in the players
Once you’ve added the teams, it’s time to add in the players.
To create a player, go to “Players”, and then “Add New”. You can fill out the fields that you want to for the player. You don’t have to add in things like hometown or height/weight if you don’t want to. They’re only there if you want to use them.
Also, you don’t have to add photos for the players if you don’t want to. If a player has no photo, a generic avatar will show up for them instead.
Simply repeat the process until you’ve added all of your players to the website. Then you can start with games.
Add in the basketball games
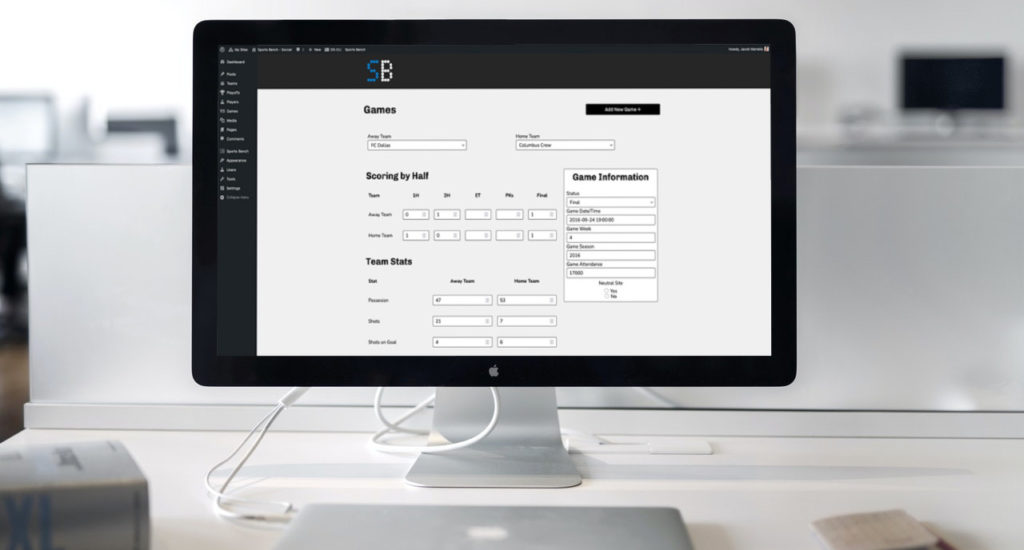
Next up it’s time to add in the games for your league. To add a new game, go to “Games” and “Add New”.
The fields are pretty easy to fill out. Make sure to select the home and away teams, and set the date and time for the game (it uses 24-hour time for the game time). You can set the game status as “scheduled” for future games, “final” for finished games or “in progress” for games that are currently going on. If a game is in progress, you can also set the current score and time for the game.
Also, you can set the game as a neutral site game, which then shows fields where you can add the address for the game (which might be perfect for rec leagues so people know where to go).
Depending on the sport you’re using, you can add in team stats as well as scoring plays/game events for the game. And then you can add in individual stats for the away and home teams as well.
Once you’ve got your games added in, it’s time to move on to the next step.
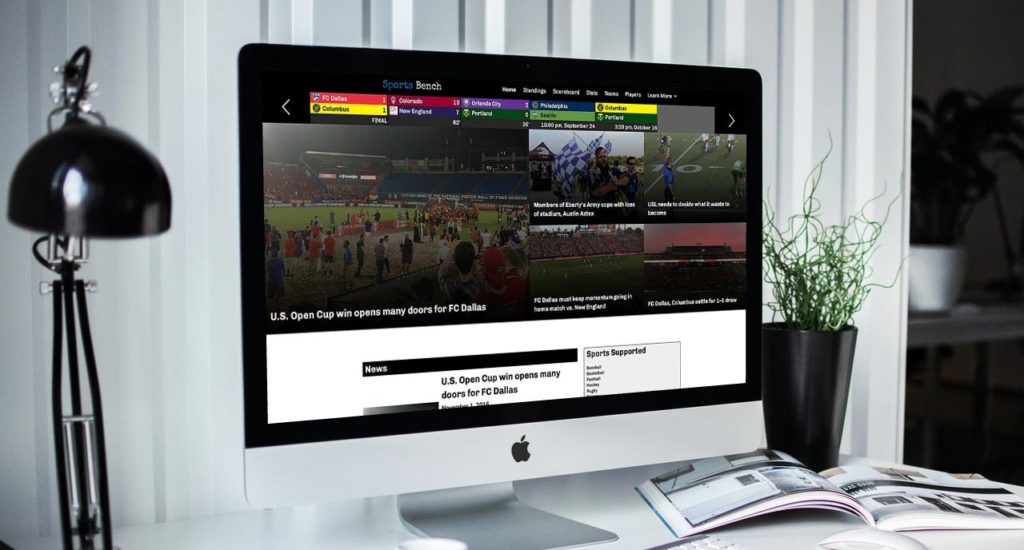
Set up the pages
Now that you’ve got all of the data inputted into your website, it’s time to set up the pages.
First off, let’s create the scoreboard, standings, stats leaderboard and player stats search pages. To do that, create a new page in WordPress. You can title the pages anything you want.
Then if you’re using the Sports Bench Main Theme, you can look for the proper page template for the type of page you want to create. Otherwise, you can select the proper block to set up your desired page.
For the player, team and box score pages, there’s an additional step. You’ll create it similarly to the other two (using the page template if you use the Main Theme or block for other themes), but then you’ll need to go into the Sports Bench pages options, and select those pages for the Box Score, Team and Player page options.
After you complete that and hit save, you’ll need to go to “Settings” and “Permalink” and hit save so that the player and team pages work correctly.
Launch the basketball website
Now that you have everything set up and looking good, it’s time to launch the website. In most cases, your website is already published and able to be viewed by the public. So really for publishing your website, all you need to do is to share it with the world.
Post about it on your social media profiles. Tell your friends and family. Let everyone involved in your basketball league know about it.
Also, you should upload your sitemap to Google so that it can index it and show it in the appropriate search results. I went over how to do that, and other things with Google Search Console, in a blog post on my portfolio website.
But be proud of the work that you put in for your sports website. You’ve done a great job. And even if you’re not completely satisfied, you can continue to tweak and adjust things over time.
Keep your basketball website updated
The good news is that your website is launched and people like it. The bad news is that you’re still not done with it. In fact, you’re never completely done with any website.
There are updates you’re going to need to run, both for WordPress core as well as your plugins and theme. Plus there are security concerns (which is why you should always be staying up-to-date with your updates).
Plus, things will break from time to time. Or you might want to change things to keep things fresh on your website. And obviously, you need to update teams, players and games as well.
So good job for now. Keep it up and keep your website running.
Stay in the know with Sports Bench
Also, make sure to stay in the know with Sports Bench so you always know what’s coming up with new features and changes.
The easiest way is to sign up for the Sports Bench newsletter. This monthly email will let you know what is coming up with the latest version of Sports Bench as well as give you tips and ideas for your website.
You can also join the forums on the website as well. There you can meet other people who are using Sports Bench as well as submit feature requests or report issues.
So congratulations on getting your website up and running with Sports Bench. I wish you and your basketball website the best of luck!
Leave a Reply